DIY Solar Resource Center
DIY Solar Resource Center
SolarTown works hard to support the efforts of DIY solar enthusiasts looking to plan and install their own solar energy systems. To supplement our ready-to-install DIY solar kits, we’ve produced a number of articles, tools, and other resources to help you navigate your DIY solar journey.
This resource center is being actively updated with new content to provide as much information as possible about the process of installing your own solar power system. (Last update: 3/9/26.)
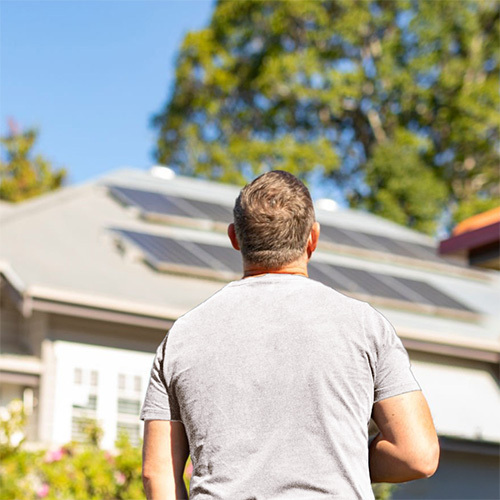


What Is DIY Solar?
"DIY solar" involves ordering solar equipment directly from a supplier like SolarTown, then handling the installation yourself, or hiring a local contractor to do the physical labor.
Your equipment ships on a pallet directly to your property. You get all the components you need for a complete system: solar panels, inverters, mounting hardware, wiring, disconnects, and any batteries or charge controllers your system requires.
With DIY solar, you're the project manager. You source the equipment, file for permits, coordinate installation, and schedule inspections. It requires more involvement on your end, but the tradeoff is significant cost savings and complete control over your system design.
Why Would You DIY Solar?
Simple: you'll save a bunch of money.
Labor and soft costs account for approximately 50% of typical solar installations. When you handle project management yourself, you eliminate most of those costs.
But cost isn't the only factor. DIY solar also gives you full control over component selection. You pick the exact components you want, based on brand preferences and project constraints. Looking for high-efficiency panels, shade-mitigating microinverters, or American-made products? When you design your own system, you make those calls.
There's also a middle-ground approach that many customers find appealing: you can order a custom kit from SolarTown and hire a local installer to handle the physical work. This gives you complete control over system design while avoiding the labor of actually mounting panels and running wires. Your costs split the difference between full DIY and turnkey installations, typically saving 30-40% project costs compared to a traditional solar company.
For an in-depth comparison: DIY Solar vs. Full-Service Installation Cost Breakdown
What Are the Steps Involved in DIY Solar?
Here's what the full DIY solar process looks like from start to finish:
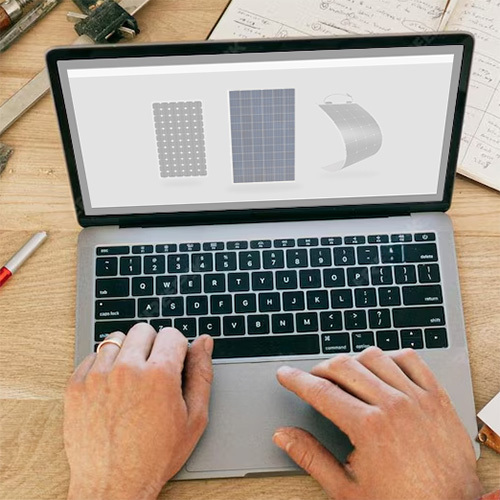
1. Research and System Design
Start by calculating your energy needs and evaluating your property. Review your energy consumption on your utility bills, and check your site for solar readiness: roof orientation, available space, local climate considerations, and any shading issues you may have. Use these factors to determine the right system size and configuration.
When you're ready, contact SolarTown to discuss your project. We'll review your energy goals and project constraints to help ensure your system is up to code. We also offer a complete permitting package, which includes spec sheets, system diagrams, and load calculation documents - everything you'll need to approve your permits the first time.
2. Order Components
Once you approve the system design, place your order. Your equipment typically ships within 1-2 weeks and arrives on pallets via freight carrier. Make sure you have a clear delivery location and someone available to sign for the shipment.
Once your equipment arrives, inspect everything for shipping damage and verify all components against your packing list. Store the equipment in a dry, secure location until you're ready to install.
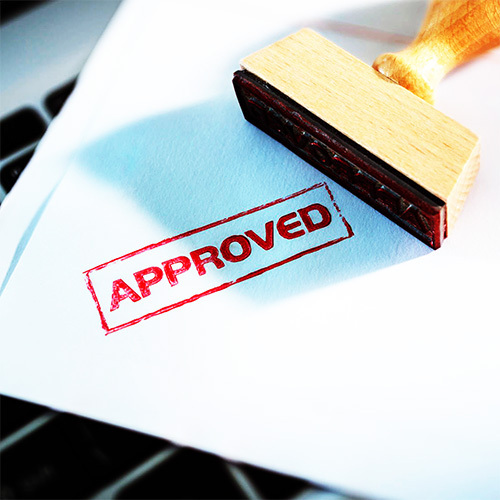
3. File for Permits
You'll need two main permits: a building permit for the physical installation, and an interconnection agreement with your utility. Both permits can take several weeks to approve, so we strongly recommend filing for these as soon as your order is placed, allowing time for them to process while your shipment is in transit.
If you opt for our permitting package add-on, we provide all the technical specifications and documentation you need for these applications. We also offer free revisions to permit plan sets for up to 6 months after the initial filing date, in case your permit doesn't get approved the first time (which is rare).
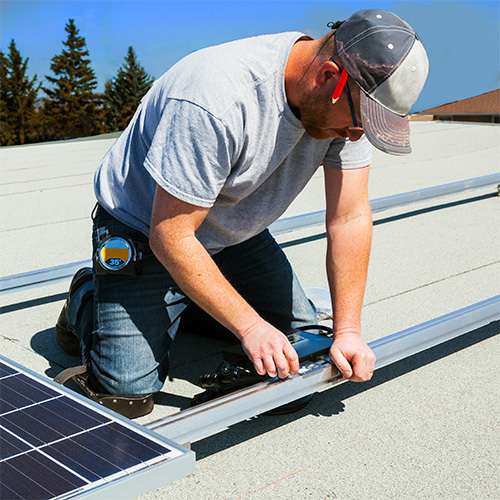
4. Install the System
Once your building permit is approved, you'll be clear to build your system. Installing your system involves mounting the racking equipment to your roof or ground mount structure, securing the panels to the racking, mounting the inverters on a wall (or on your panels, in the case of micro-inverters) and plugging in your cables.
Most DIY customers handle this phase themselves, or hire a local contractor for the physical labor. The work is straightforward, but can be physically demanding. This step can be accomplished by able-bodied individuals without any special training (aside from reading the installation instructions).
5. Hire an Electrician for Final Connections
Unless you're a licensed electrician, you'll probably want to bring in a professional for the electrical hookup. This includes wiring from the inverter to your main service panel, installing disconnects, and making the final utility connection. Most electricians can complete this work in a few hours for a residential system.
6. Schedule Inspections
Call your building department to schedule a final inspection. The inspector will verify your installation meets code requirements. Once you pass inspection through the permitting office, your utility will schedule their own inspection to verify proper interconnection. There's one final waiting period as your inspection results are submitted to the appropriate offices for approval.
7. Wait for Permission to Operate (PTO)
After passing all inspections, your utility will issue Permission to Operate (PTO). This is your authorization to turn on the system and start producing power. PTO timelines vary widely by utility but typically take 1-4 weeks after final inspection.
Do not turn on your system before receiving PTO! Turning on your system before receiving approval can carry fines and penalties, including voiding your net metering agreement, which would strip you of your rights to interconnect with the grid.
Once you have PTO, you can flip the switch and start generating power! Monitor your system's performance for the first few days to verify everything is working correctly. Most inverters include monitoring capabilities, either through built-in displays or smartphone apps.
How Easy Is It to DIY Solar?
Installing solar panels is not trivial, but it's well within reach for most people who are comfortable with basic physical work and willing to follow detailed instructions. The difficulty level compares to assembling large furniture or completing moderate home improvement projects. You're not doing anything that requires specialized training, but careful attention to installation manuals and safety protocols is paramount.
The physical demands are real. Solar panels weigh 40-50 pounds each. Racking components are heavy and awkward. Roof work requires comfort working at heights. If you have physical limitations or concerns about working on your roof, factor this into your decision whether DIY solar is right for you.
Many customers in this situation opt to order equipment through SolarTown and hire local help for the physical installation work, which can still save thousands of dollars when compared to all-in-one solar installers.
The permitting process tends to be more frustrating than the physical installation. You're dealing with government bureaucracy, utility company procedures, and waiting periods outside your control. But the actual paperwork is straightforward. We provide all the technical documentation you need, including system specifications, wiring diagrams, and component certifications. Most building departments have standard solar permit applications that walk you through the required information.
Getting Help Throughout Your Project
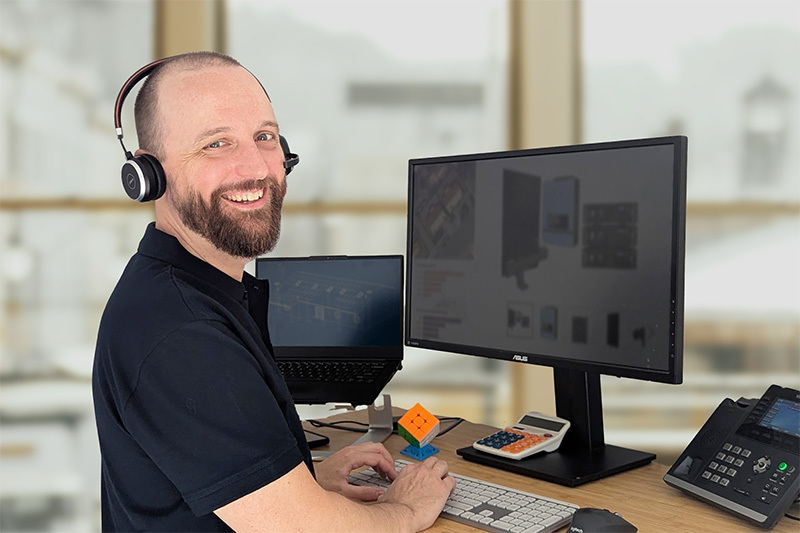
SolarTown isn't just an equipment supplier. We're your partner throughout the entire process. Our team has designed thousands of custom solar kits and helped customers through every phase of their installations. When you run into questions or roadblocks, we're here to help.
Our design consultations are included with every kit. We'll review your energy needs, property characteristics, and local requirements to recommend the optimal system configuration. We'll answer questions about component selection, mounting options, and system sizing. We'll provide detailed installation manuals, wiring diagrams, and specifications formatted for permit applications.
Most importantly: you're in the driver's seat. You retain full control over component selection and system design decisions. We take more of an advisory role, alerting you when parts are incompatible or fall outside of safety codes, to ensure the permitting and installation goes smoothly.
After your system is installed, we remain available for technical support and warranty issues. We can help diagnose performance problems if they arise. Most issues are simple to resolve once you identify the root cause, and our team can guide you through the troubleshooting process. We have guided DIYers to thousands of successful installs in all 50 states - our team is well-equipped to help you navigate any hurdles or bumps in the road.
Is DIY Solar Right for You?
DIY solar makes sense if you want to save money, maintain control over component selection, and don't mind managing the project yourself. It's a good fit for people who are reasonably handy, comfortable with physical work, and willing to navigate permitting requirements.
It's not the right choice if you have physical limitations that make roof work unsafe, if you're completely unfamiliar with basic tools and construction concepts, or if you simply don't want to invest the time and energy into managing an installation project. There's no shame in paying professionals to handle work you'd rather not do yourself.
The middle-ground approach works well for many customers: order your custom kit from SolarTown, then hire a local contractor to handle installation. You get the cost savings and control over system design without the physical demands of roof work. This approach still saves 30-40% compared to turnkey installations while letting you focus on project management rather than hands-on labor.
The best way to determine if DIY solar works for your situation is to talk with our team. We can discuss your specific property, energy goals, budget, and comfort level with various aspects of the project. We'll help you understand the tradeoffs and recommend the approach that makes the most sense for your situation.
Still Have Questions? Reach Out To Us
Can’t find the answer you’re looking for? Don’t hesitate to reach out to our design team for guidance on your solar project. We’ll answer any questions you have about going solar and help design a kit that is perfectly suited to your needs.
Questions? Chat With Us.
Get fast answers from real people. We’ll work together to design the perfect DIY solar kit for your project.
Get in touch